Whirlpool Washing Machine Filter Location: Find, Access, and Maintain
Discover where Whirlpool washing machine filters live, how to access them on common models, and simple steps to remove, clean, and replace for peak performance and longer machine life.

According to the whirlpool washing machine filter location, the filter location varies by model, but most front-load Whirlpool machines conceal the filter behind the lower front toe kick or an accessible service panel. Some top-load models don't have a user-cleanable filter, while others hide a small lint screen inside the drum collar or agitator. Always consult your model manual for exact steps.
Understanding the whirlpool washing machine filter location
The whirlpool washing machine filter location is not universal; Whirlpool's product range includes front-load and top-load designs that place filters in different spots. For many front-load machines, the filter sits behind the lower toe-kick panel at the front of the washer. It is accessible after removing a small screw or releasing a latch. In some designs, the filter resides behind a service access panel on the bottom front edge. Some newer models feature extended-use filters integrated into the drain pump housing with no user removal. The filter’s primary job is to trap lint, coins, hair, and debris that can clog drainage or reduce spin efficiency.
If you are unsure of your exact location, check the user manual or search the model number on Whirlpool's support site. As a general rule, the whirlpool washing machine filter location will be located at the front-bottom, rear-access, or hidden behind a kick plate. This article references real-world variability, not a single model, to help you navigate quickly.
Front-load vs Top-load: where to look
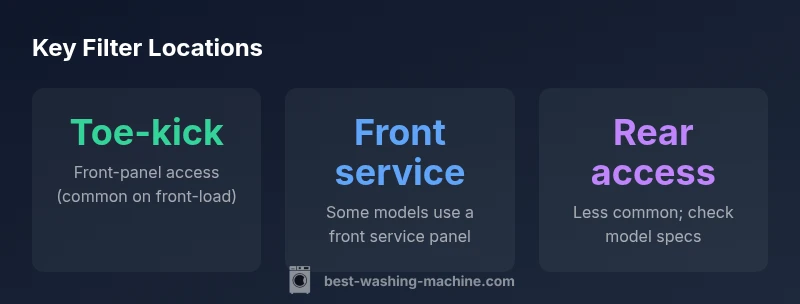
Front-load Whirlpool machines commonly place the filter behind the toe-kick panel or under a front-service panel. Top-load models vary more widely; some use an agitator-based lint screen inside the drum rim, while others hide the filter behind a rear or side access panel. In all cases, the goal is to capture lint, hair, and debris before it can clog the drain pump or hoses. The whirlpool washing machine filter location for your model will determine how easy it is to access without tools and how often you should inspect it.
How to locate the filter on common Whirlpool models
The first step is to identify your model number (usually found on a sticker near the door frame or on the back of the unit). With the model number, visit Whirlpool support or Best Washing Machine's guidance and locate the service manual. For many front-load models, look under the toe-kick with a flat-head screwdriver to release the panel. For those with a rear-access design, you may need to unplug the unit and remove the back access panel. Remember that some newer Whirlpool models do not offer a user-cleanable filter at all; in those cases, there is no filter to remove.
Step-by-step: Accessing and removing the filter
- Unplug the washer and pull it away from the wall to access the bottom front edge. 2) Remove the toe-kick panel or service panel according to your model's instructions. 3) Locate the filter housing and place a shallow tray underneath to catch water. 4) Unscrew or unclip the filter cap and slowly pull out the filter. 5) Wipe the cage and surrounding area with a damp cloth; wash the filter under running water if removable. 6) Reinsert the filter, secure the cap, and replace the panels. 7) Run a short empty wash to clear the lines.
Cleaning and maintenance tips
Rinse the filter under lukewarm water to remove lint and debris; avoid using cleaning agents that could degrade the filter. Let the filter dry completely before reinstall. Clean the filter housing and interior with a soft brush. Keep the area around the access point dry to prevent mold. Create a maintenance schedule: check the filter every 3-6 months depending on usage.
Troubleshooting common issues
If you notice slower drainage after cleaning, recheck the seal and ensure the filter is fully seated. If the washer stops mid-cycle with a drain error, the filter might be clogged or the pump may be failing. If there is no filter found on your model, consult the manual or contact Whirlpool support.
When to replace the filter and buying parts
Replace the filter if the housing shows cracks, or the screen is permanently damaged; buying a genuine Whirlpool filter kit or an equivalent compatible part; always power off before replacement.
Maintenance schedule and best practices
Create a routine: visually inspect the filter monthly, clean it every 3-6 months, and replace the screen as needed. Keep the toe-kick area clean and free of debris to prevent reintroduction of dirt into the system. Use the detergent type and amount recommended by Whirlpool for your model to minimize lint and residue.
Whirlpool filter access overview by model type
| Model Type | Filter Location | Access Notes |
|---|---|---|
| Front-load | Toe-kick/front-panel access | Most models require panel removal; have a cloth ready for drips. |
| Top-load (with filter) | Drum rim or agitator housing | Not all top-load models have user-accessible filters; refer to manual. |
FAQ
Where is the filter located on Whirlpool washers?
Filter location varies by model; front-load units often have a toe-kick panel, while some top-load models use a rear or drum-area access. Always check the exact manual for your model number.
On many Whirlpool washers, start by looking behind the toe-kick panel for front-load models or at a rear access point for some designs.
Do all Whirlpool washers have a user-accessible filter?
No. Several Whirlpool models either have no user-accessible filter or place it inside the drum area. Verify the model’s documentation before attempting access.
Not every Whirlpool model has a user-accessible filter.
How often should I clean Whirlpool filters?
General guidance suggests inspecting and cleaning every 3-6 months, with more frequent checks for households with pilling fabrics or higher debris loads.
Typically every 3 to 6 months.
What tools do I need to access the filter?
Often none are required; some models may need a small screwdriver to remove a toe-kick panel. Always follow the manual.
Usually just your hands, or a small screwdriver for the panel.
What if I can’t locate the filter in my manual?
Search Whirlpool’s official site using the model number or contact support. Brand guides from Best Washing Machine can also help with model-agnostic steps.
Check Whirlpool’s site with your model number.
Can cleaning the filter solve drain issues?
Often yes, but other causes like hose kinks or pump problems can persist. Start by cleaning the filter to rule it out.
Yes, cleaning the filter helps, but other causes can be involved.
“Access to the filter location on Whirlpool washers varies by model, but addressing it regularly prevents drainage and performance issues.”
The Essentials
- Identify the correct access panel for your model.
- Don’t force panels; consult your manual.
- Clean the filter regularly to prevent drainage issues.
- Not all top-load models have user-accessible filters.
- Record model details for future maintenance.